Photoshoot Prep Tips: All About Makeup
Hey peeps! This post is by request, and it’s all about makeup! I’ve been posting over on the socials about my new makeup lineup so I figured I would document the deets here. I rarely wear makeup, aside from when I need to shoot for the blog. I usually recruit my fav makeup artist, but as it turns out - she has a life and is not always available. Lately, I’ve been filming and shooting a lot more content and I realized it was long overdue for me to invest into an arsenal of my own. That way, I can slay the face as needed. So I turned on my favorite YouTuber’s tutorials, stopped by my nearest Sephora and got to work. Guys, I feel unstoppable. Empowered. Elite. Refined. I have arrived.

So let’s talk about how to achieve a beat that lends your professional photos a little, oomph.
Now, I am no expert, but I do regularly work with makeup artists when managing my clients photoshoots. Whether we’re prepping for a styled shoot or a family portrait session, there are a few recommendations that I like to give all of my clients. We will discuss a few of these tips below. I’ll also give the full list of products in my “backup” makeup routine, when I can’t get to an MUA myself…because let’s face it, stuff happens.
The Basics
When I’m prepping my clients, we create a mood board that shows visuals, colors and themes we will use for the shoot. This includes inspiration for wardrobe, location, hair and makeup, etc. As I mentioned, it doesn’t matter if we’re talking about an editorial shoot, a family portrait or a personal brand session - we want to make sure you look your best on camera.
Now let me tell you…my camera picks up EVERYTHING. That doesn’t mean you have to show up with a face full of makeup. I love a natural look, and sometimes au naturale is the best fit. I support. I only bring this up to say, we tend to look a little different in 4k than what we are generally accustom to. So, there’s a few basic steps you can take in advance to feel super confident on the day of your shoot.
General Skincare - Hopefully, you are already including a solid skincare regimen into your routine. At the very least, I suggest you start paying special attention to your skin a week before your shoot. There’s obviously lots we can discuss here, but a simple Cleanser, Toner, Moisturizer routine is a great start. On the day of, make sure you’re nice and moisturized to keep your skin glowing. Makeup or not.
The Bare Minimum - If you are choosing to wear makeup on your shoot but you don’t want a full face, I get it. At minimum, I suggest four items that have a big impact on your look on camera. The big four are: Bronzer, Lipgloss, Brow Powder and a A GREAT Mascara - or better yet, a set of false lashes. Bronzer is a great way to give your skin a little glow and natural contour. Layered on top of a good moisturizer, its an easy boost of color that can give your skin a more even appearance without feeling heavy. Mascara is a non-negotiable because there is something about eyelashes that do not translate well on camera. They tend to blend right into your lash-line, becoming almost invisible. Make sure you give them a little reinforcement. Similarly, well shaped brows lend to an overall well defined eye. Keep that in mind and grab a nice brow gel or powder for extra definition. Lastly, lipgloss. We want our pout to look moisturized and supple, so don’t forget a little gloss or a great tinted lip balm.
Why You Should Hire A Makeup Artist for Your Shoot
Alright, now it’s time to up the ante. This is for those that want to go full glam for your shoot (my preferred choice). As a photographer, I’m going to let you in on a little secret. Hiring a pro is going to make the finished images look so much more polished annndd, make your photographers job a bit easier! Most photographers spend a significant amount of time retouching every image that we deliver. That means we are meticulously improving the tones and colors of the overall photo, as well as making sure your skin looks it’s best. My personal editing style is quite natural. I do, however, remove obvious blemishes and touch up as needed. Commercial campaigns or beauty shoots require a higher level of retouching, so it really helps when your makeup has been done by a professional. That full coverage look that a professional can create can make a huge difference in your photos and reduce the need for editing. Here’s some quick tips
Find Your Artist - I love to look for local MUAs on Instagram and other social media platforms. You have an opportunity to see their work in advance and make sure they are a good fit. Be sure to look at their portfolio closely to confirm they can work with your complexion and style needs. If you don’t have a good contact, you can always make an appointment at places like Sephora, MAC or any standard mall beauty counter. Drea & Co. works with a handful of preferred artists to make the search easier.
When you reach out to your makeup artist, let them know you’ll be in a photoshoot. There are certain products and techniques that they can use to ensure your makeup looks the way its intended. Keep in mind, lighting has a big impact on the way colors are displayed in photographs. While your makeup may be appear very vibrant to the naked eye, it can often look more muted on camera. Therefore, you will typically want to use a heavier application.
Allow Enough Time. A quality makeup application takes time. Be sure to schedule your appointment at least 2-3 hours before your shoot.
Ask For Samples for Touch Ups. Sometimes you’ll need to touch up your lipstick or reapply a little blush on set during your shoot. Most MUAs are more than happy to send you off with samples or mini tubes of product. It doesn’t hurt to ask.
DIY Makeup
So maybe you are pressed for time, or you simply want to take matters into your own hands before your shoot. To my seasoned makeup wearers, nothing new here. You’re likely well trained and ready to go. For my newbies, I just want to inspire you to try your hand at a few techniques. There are so many wonderful resources out here that can educate you on how to do an everyday look at the least, and a full on contour at best. Don’t be intimidated by all of the products and tools out there. Jump on in.
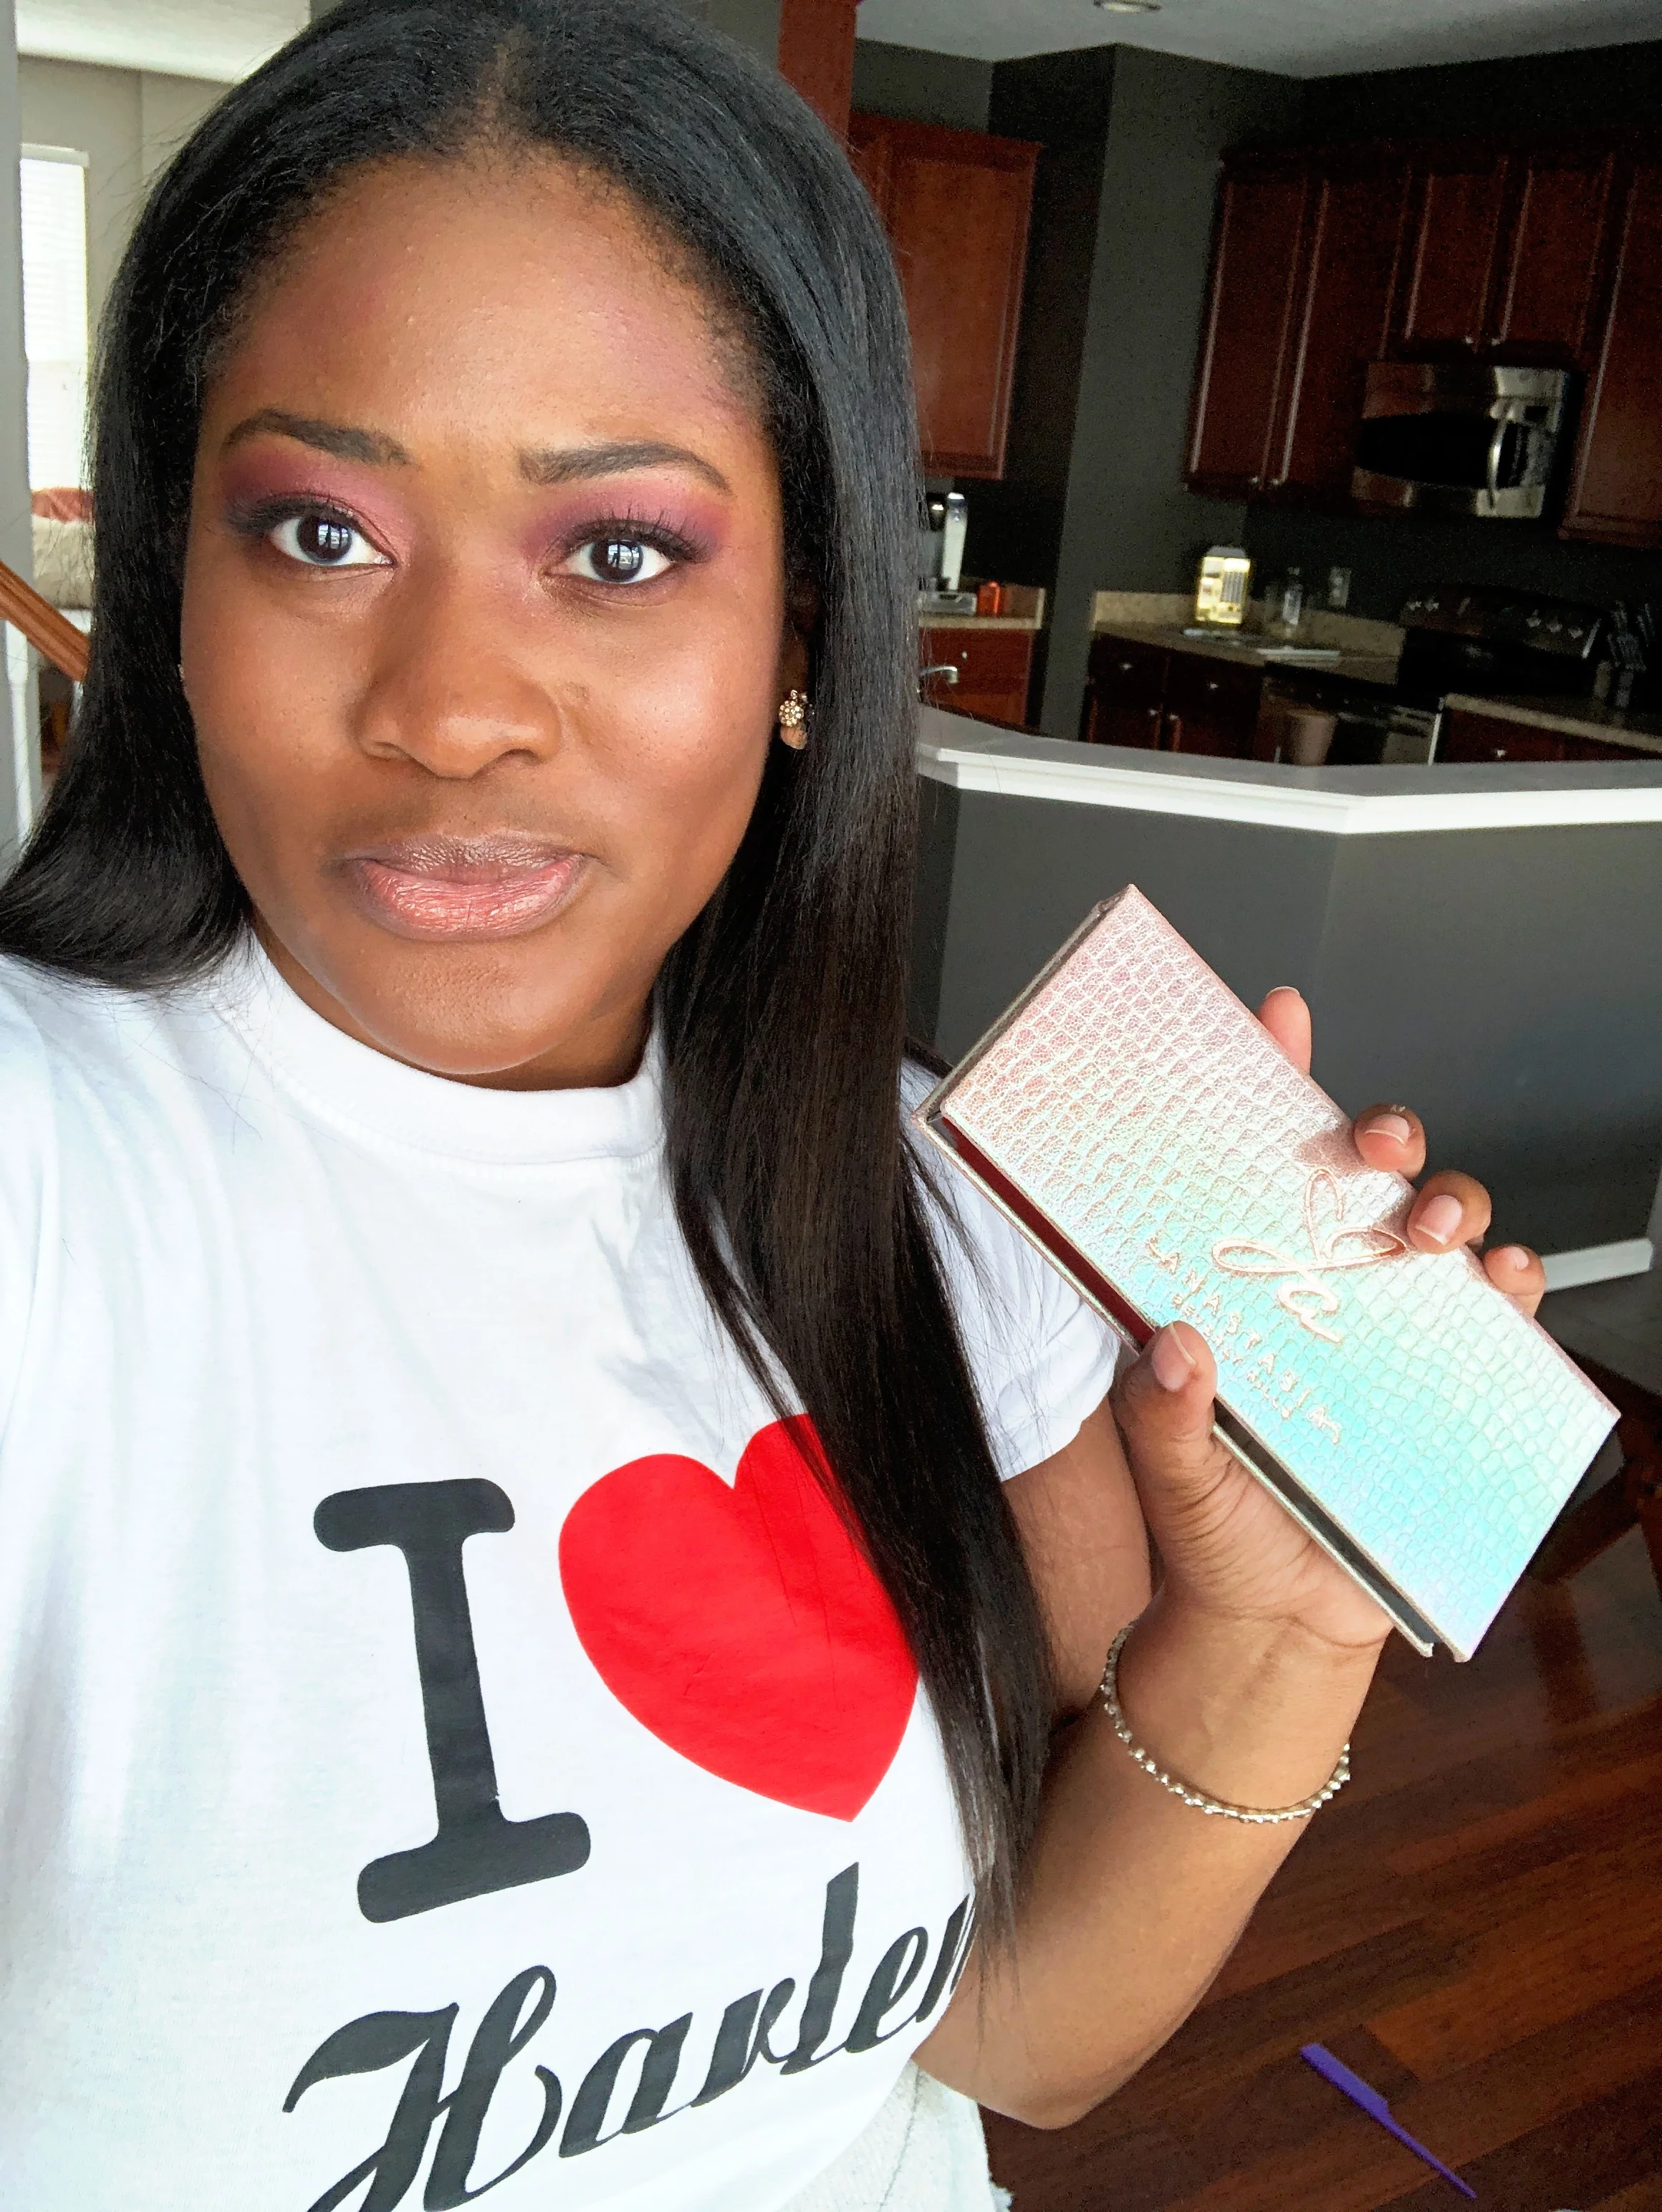
Like I mentioned before, I’m no MUA but it is fun to try out some new looks on your own. I recently tested out the newest palette from makeup guru, Jackie Aina and Anastasia Beverly Hills while I filmed for our Drinks With Drea video series. It worked well, and was just enough to make it easier for me in the editing stage so I only have to remove a few blemishes, etc. For those interested, I’m listing products used below.
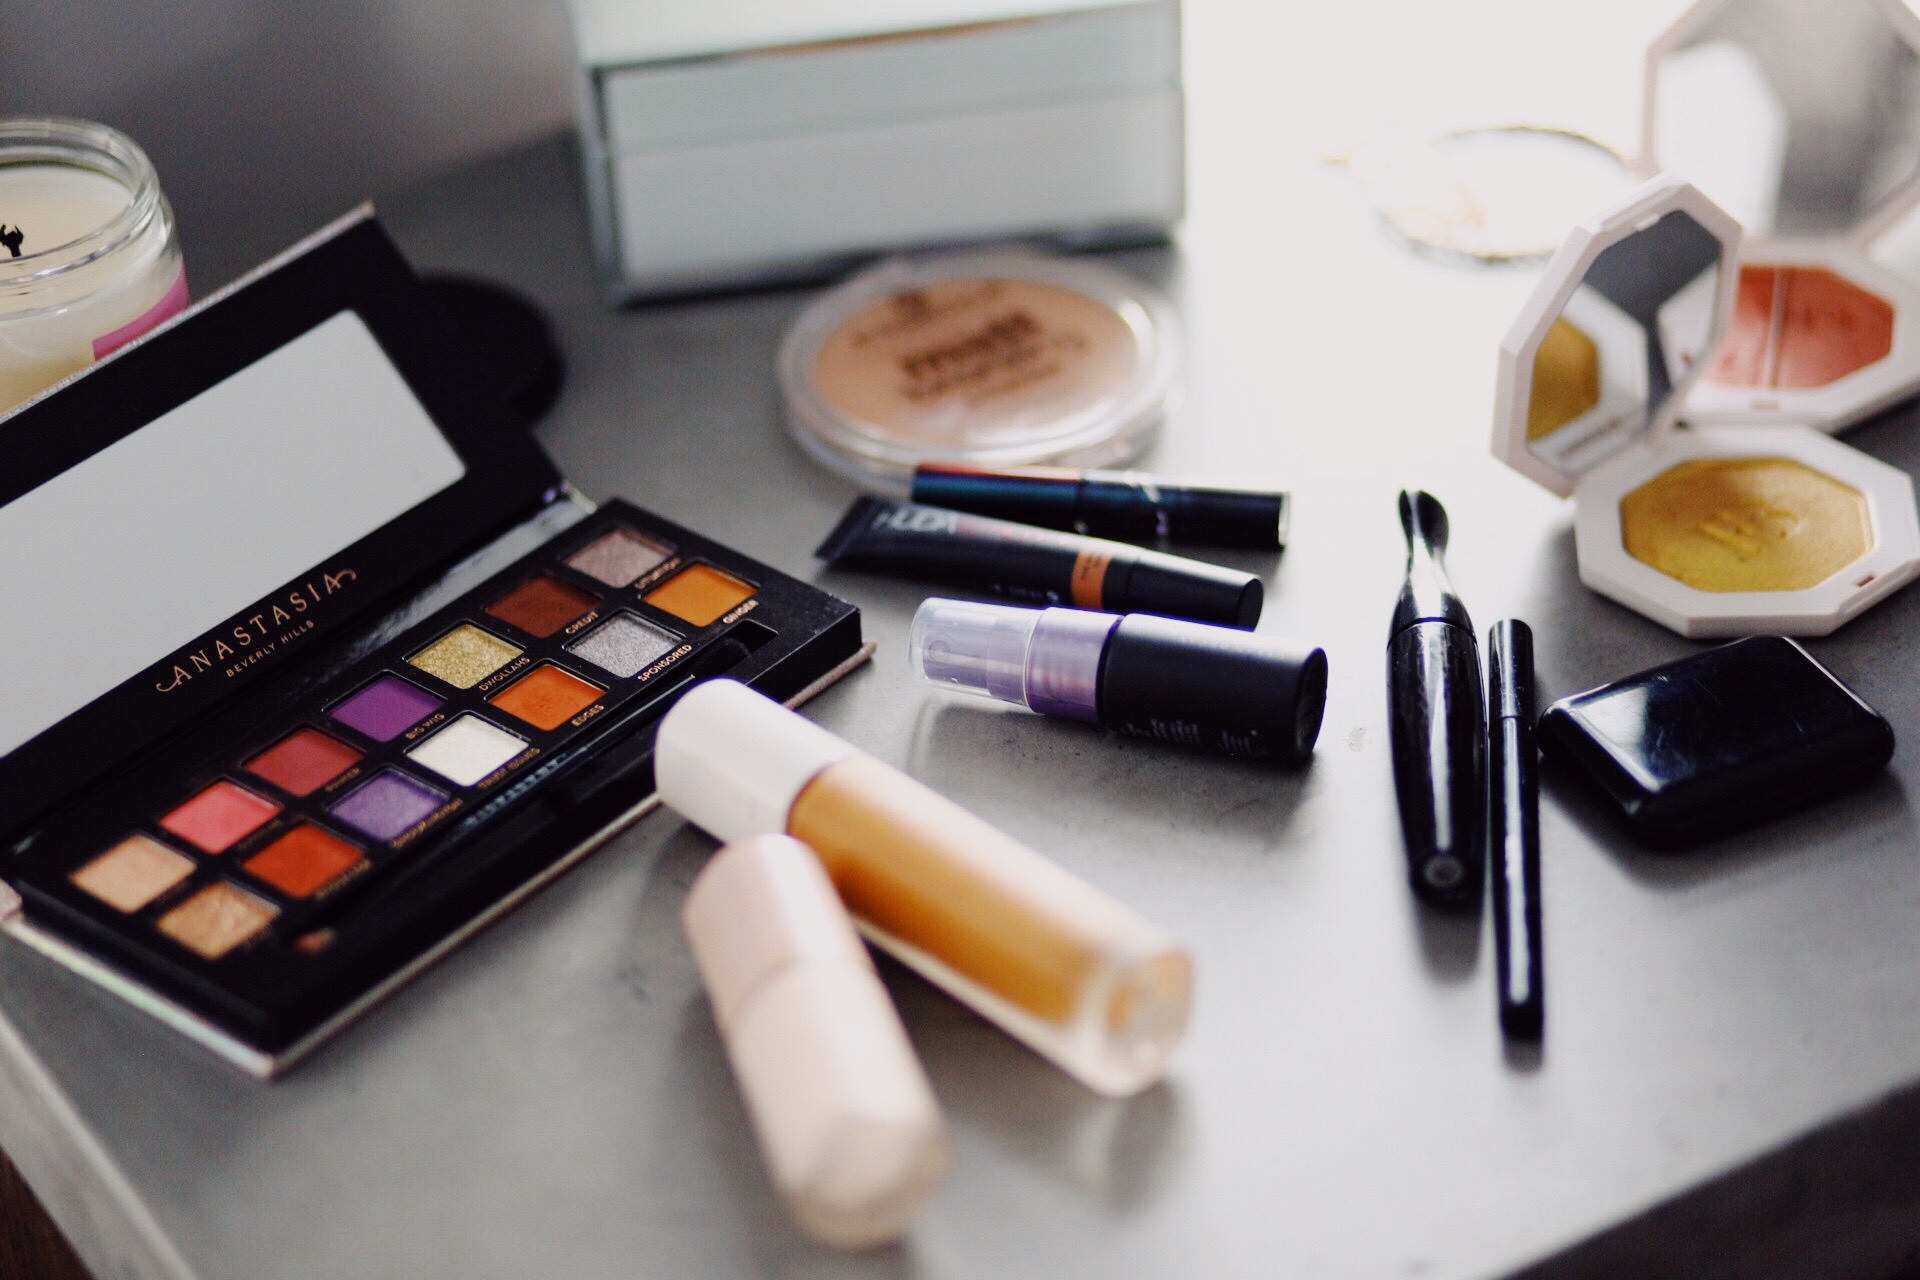
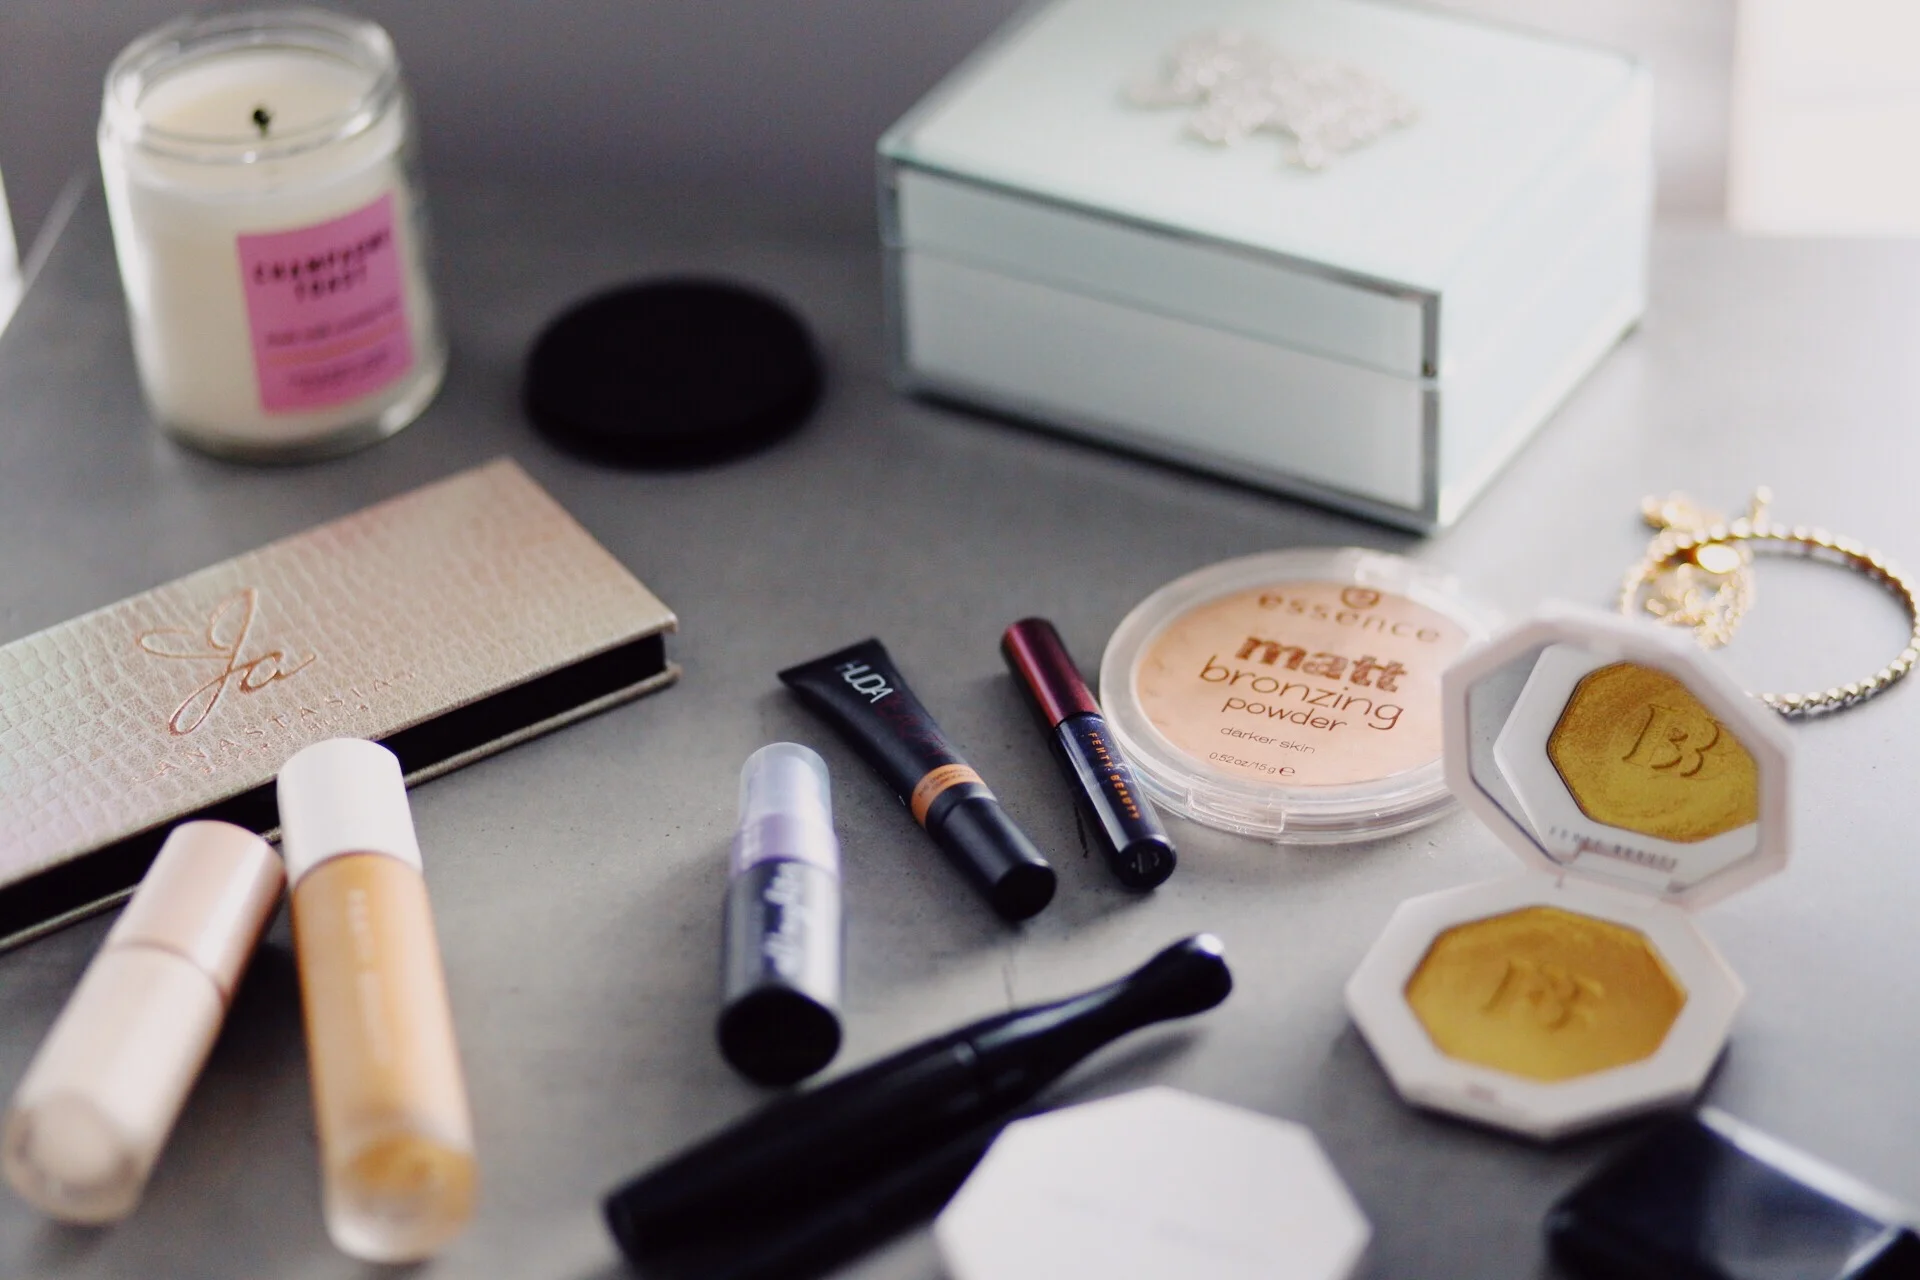
Products Used
Fenty Beauty Pro Filt’r Instant Retouch Primer - Soft Matte
Fenty Beauty Pro Filt’r Soft Matte Longwear Foundation in Shade 420
Huda Beauty High Coverage Creamy Concealer in Shade Honeycomb 30R
Essence Matt Bronzing Powder in Shade 02 Sunny (I used this to set, as I did not have any setting powders on hand)
Urban Decay All Nighter Makeup Setting Spray
Blush - Fenty Beauty Killawatt Duo in Ginger Binge/Moscow Mule
Highlight - Fenty Beauty Killawatt in Trophy Wife
Eyeshadow - Jackie Aina X ABH Palette: Pinker, Supreme, Credit and Soleil
Lashes - Kiss True Volume
I also used a few random items that are so old the label has worn off, which is probably a hint I need to toss them. Alas, I used a Chestnut colored eyeshadow to add some contouring. Brown brow powder and some liquid eyeliner. Unsure of brands.
I hope this was helpful for you guys! If you have more questions or need help planning for your next photoshoot, let me know or leave a comment below!
Talk soon!